WordPress is one of the most popular web content management systems. In this comprehensive tutorial I will show you how you can install and setup WordPress on Mac and create your first website using theme on wordpress. For complete installation process go through these steps :
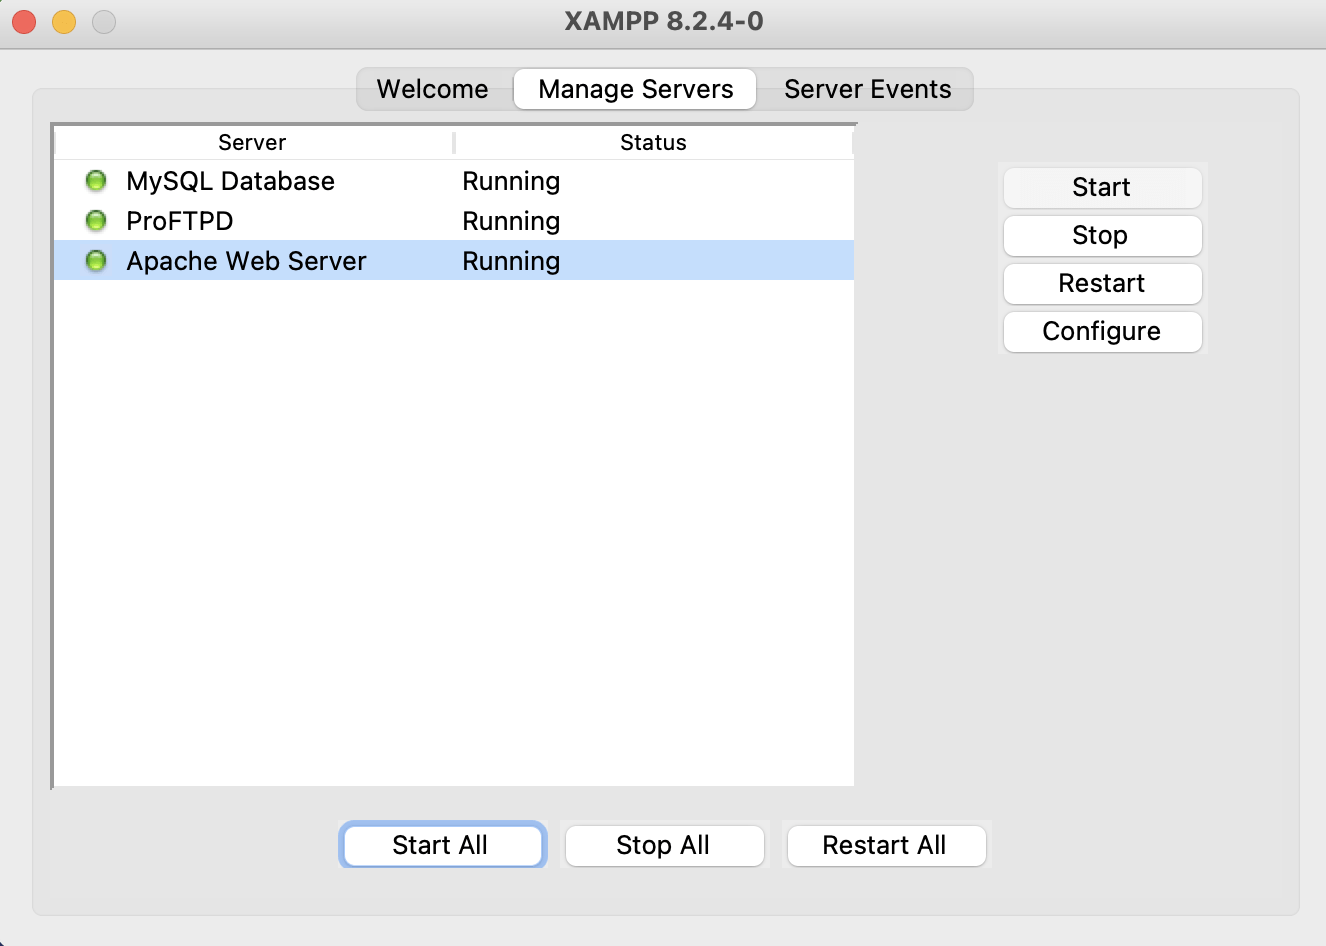
Step 1 : Install XAMPP Server and Start Servers
First of all download XAMPP dmg file and simply double click to install.
Once you download zip file just double click to extract the file.
Download WordPress zip and Extract
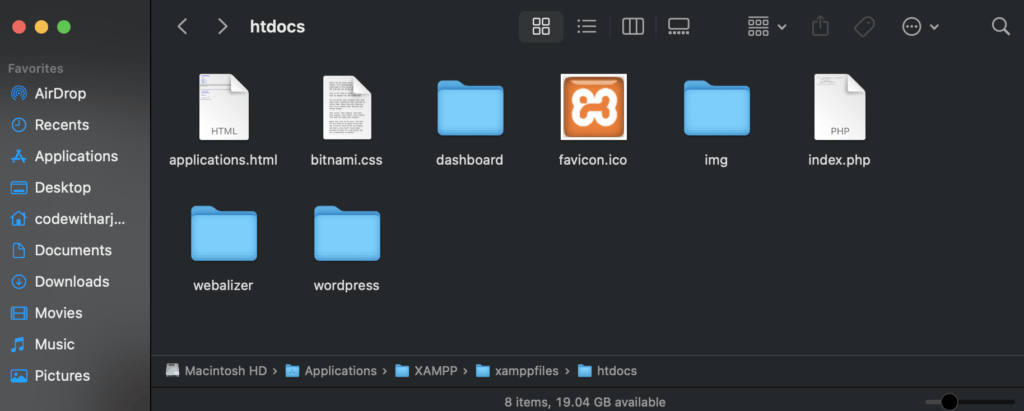
Now copy wordpress folder and we have to paste it inside htdocs.
To find htdocs just go inside Applications folder > XAMPP > xamppfiles > htdocs
Copy wordpress folder inside htdocs folder
Step 3 : Create MySQL Database from phpMyAdmin
Now just open your browser and type localhost
Then, click on phpMyAdmin on rightmost top
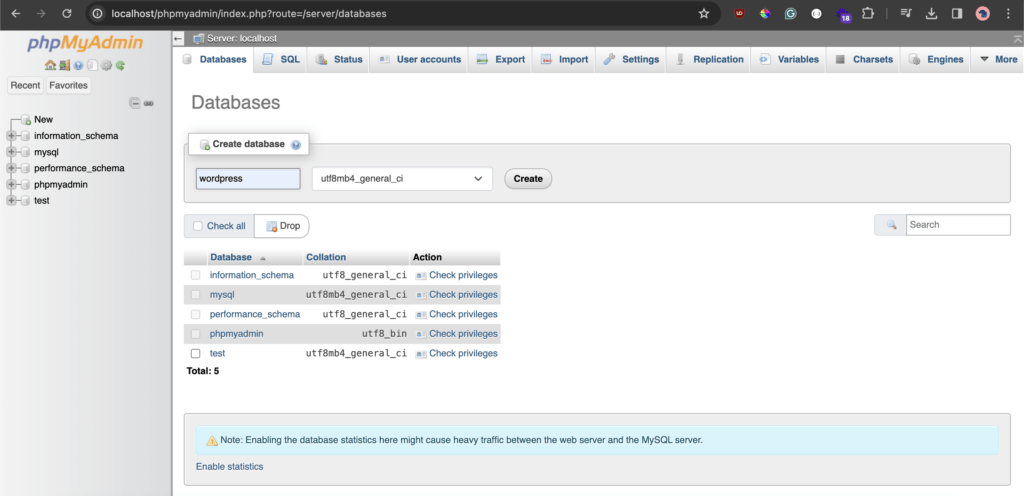
Then click on New to create database
Just give name wordpress and click on create
Create wordpress database using phpMyAdmin
Step 4 : Setup WordPress
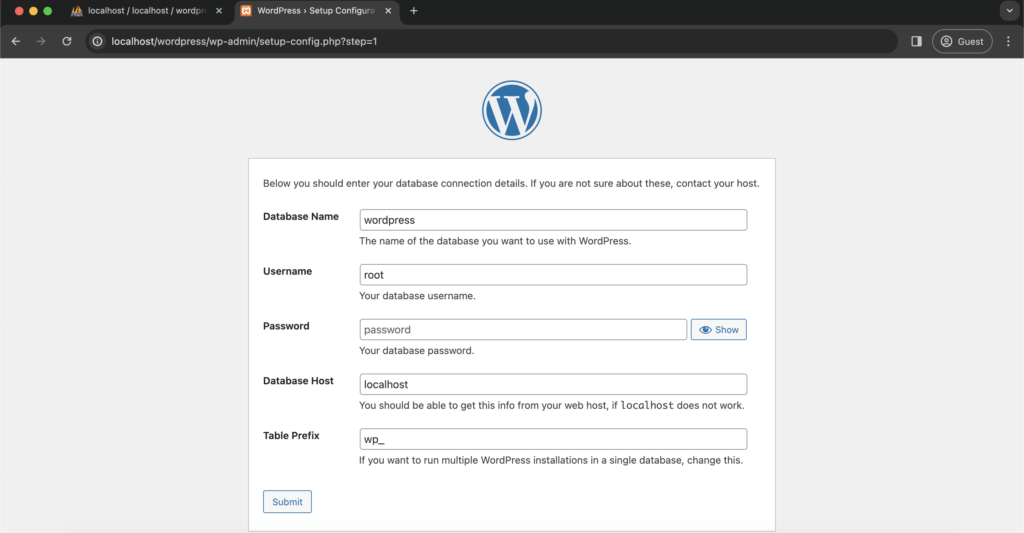
Now just type localhost/wordpress on your browser.
Give the database name wordpress which we have just created.
Give username root.
Keep password blank.
And keep database host, table prefix as it is.
Now just press submit.
Setup wordpress
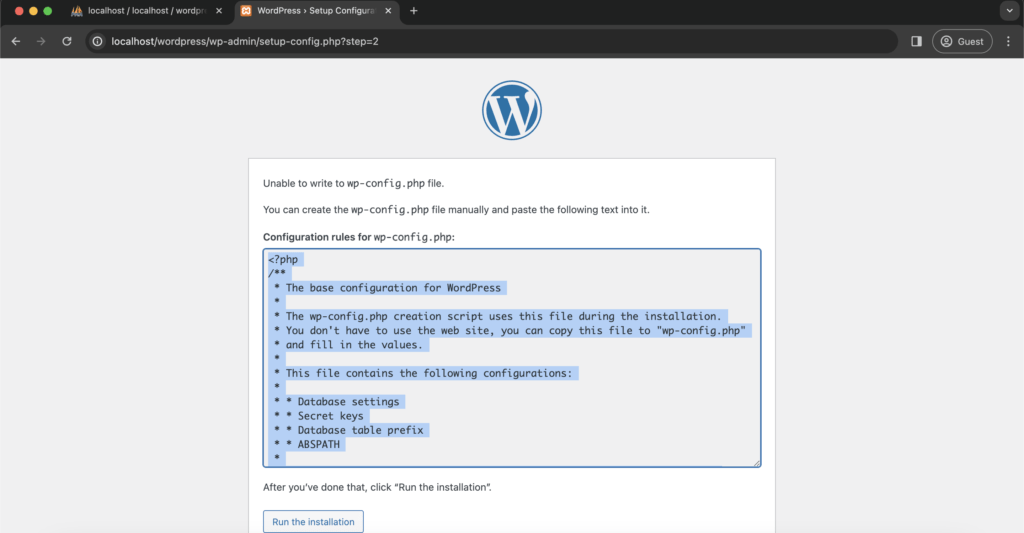
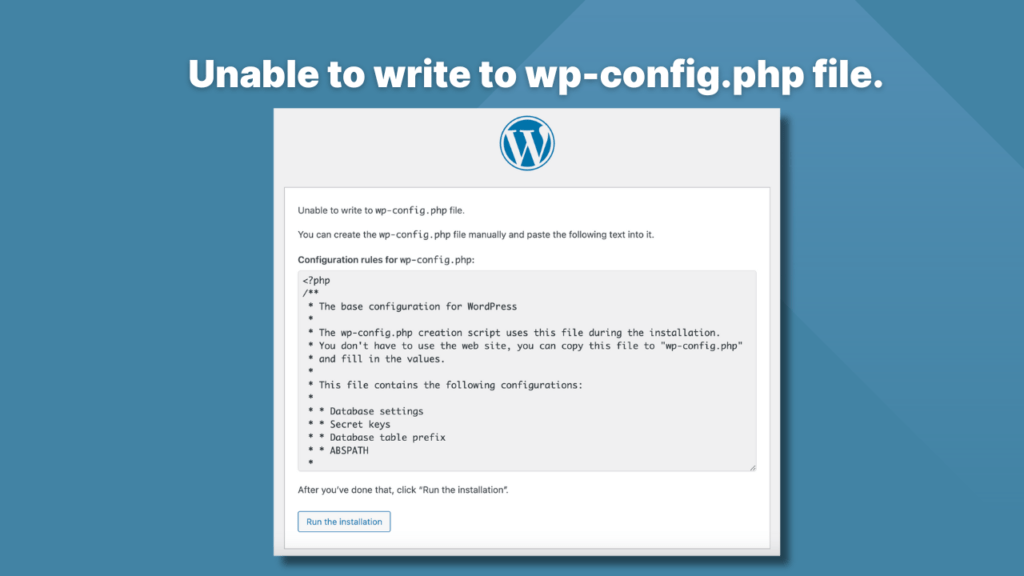
Once you click on submit you will see this type of error. Unable to write to wp-config.php file.
wp-config.php error
To fix this error,
First copy whole php code selected part which is inside that configuration rules from wp-config.php.
Then open wordpress folder from htdocs.
You will find wp-config-sample.php file inside there. Just rename this file to wp-config.php.
Open this file with any editor like vscode.
Now just open the renamed file wp-config.php and paste the code which we copied from the error page.
wp-config.php in vscode
Now, Click on Run the installation.
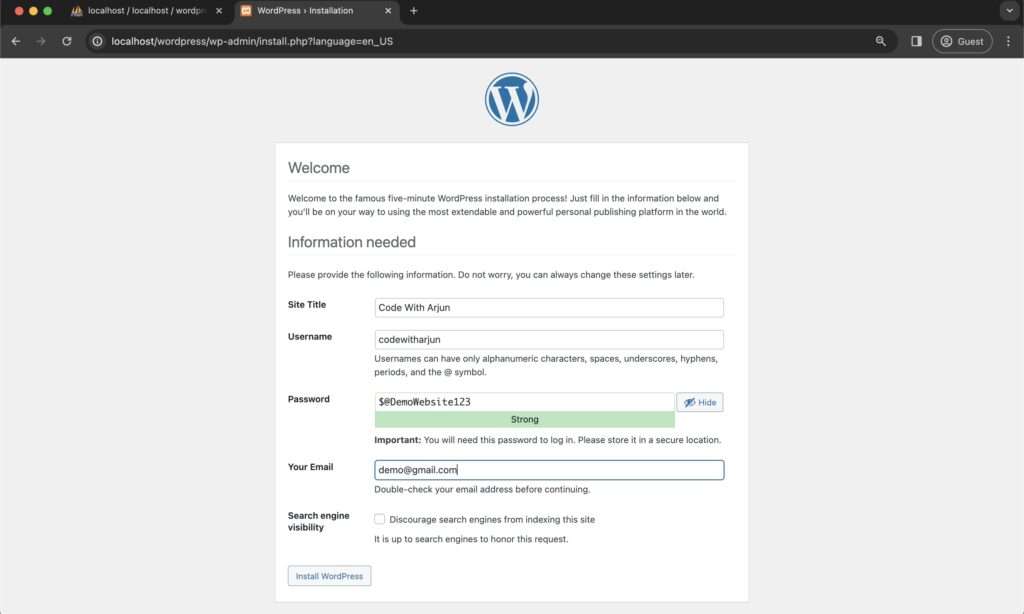
Then this will open this Welcome page.
Now just click on Install WordPress.
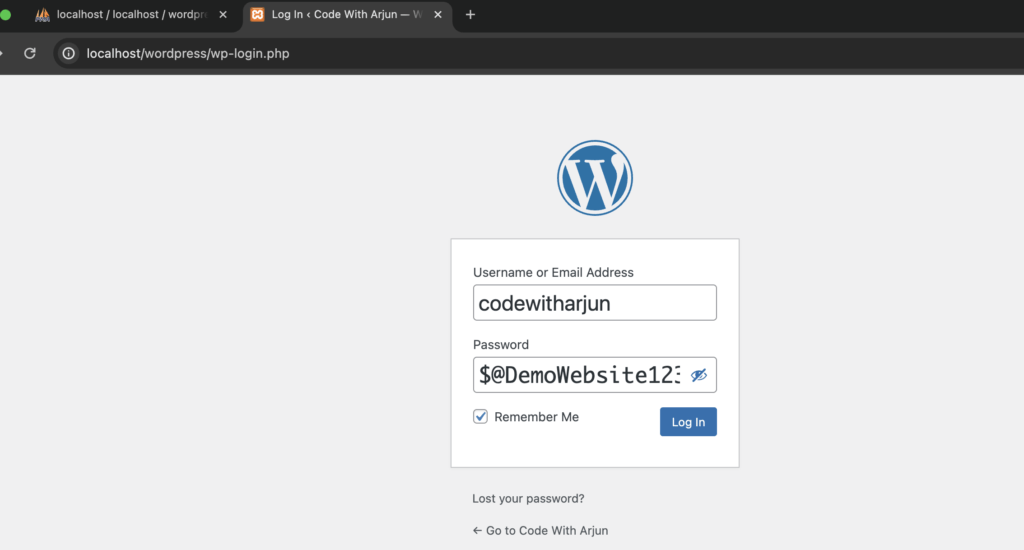
This will open login page
WordPress admin Login Page
Now just enter username and password.
Then click on Log In
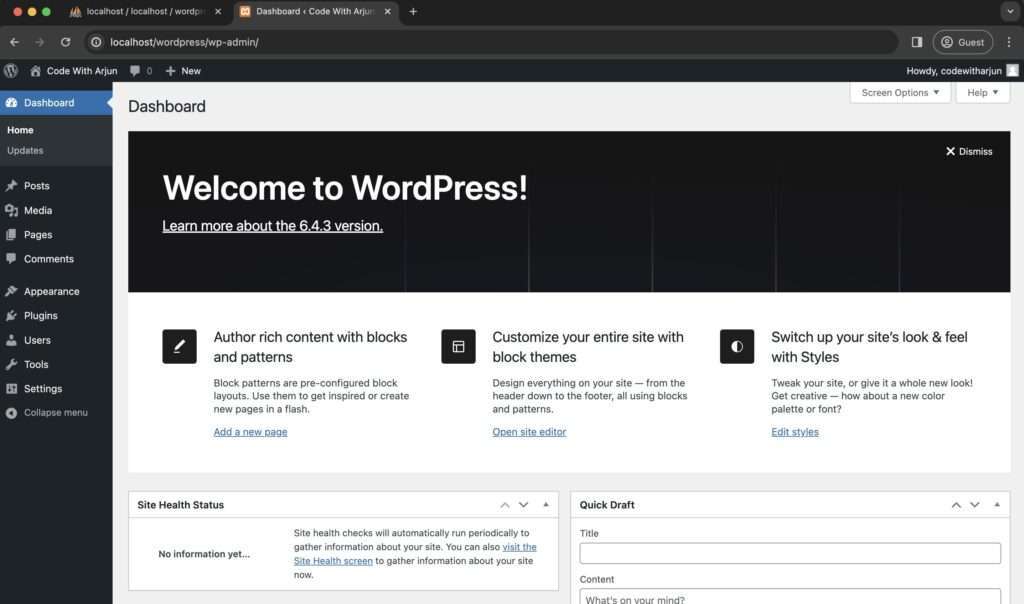
This will open WordPress Dashboard.
Welcome page Dashboard WordPress
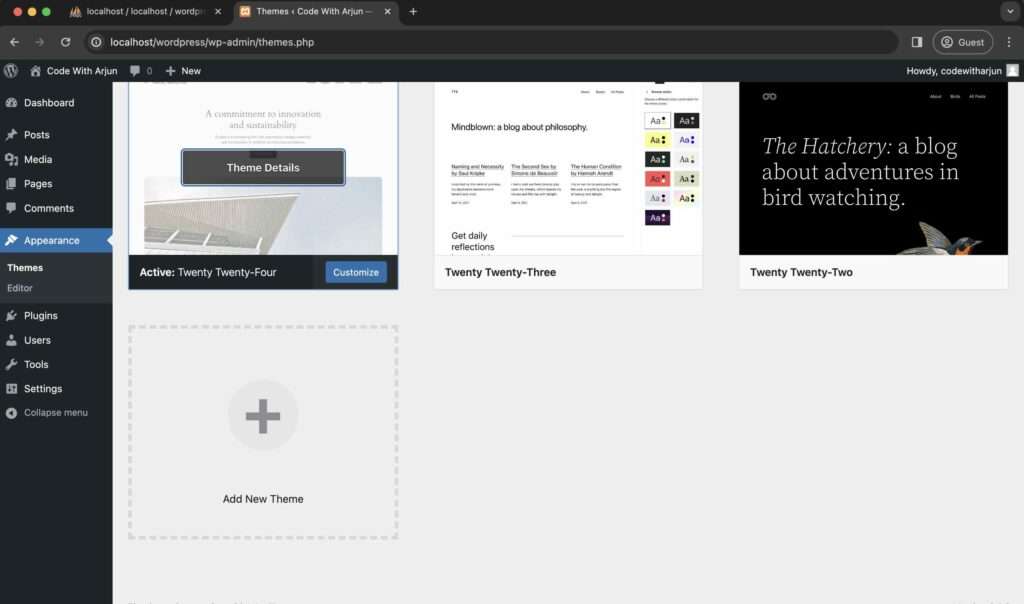
If you just look at left side you can see Appearance. Just click on that and click on Themes.
Themes in WordPress
By default Twenty Twenty-Four theme is installed.
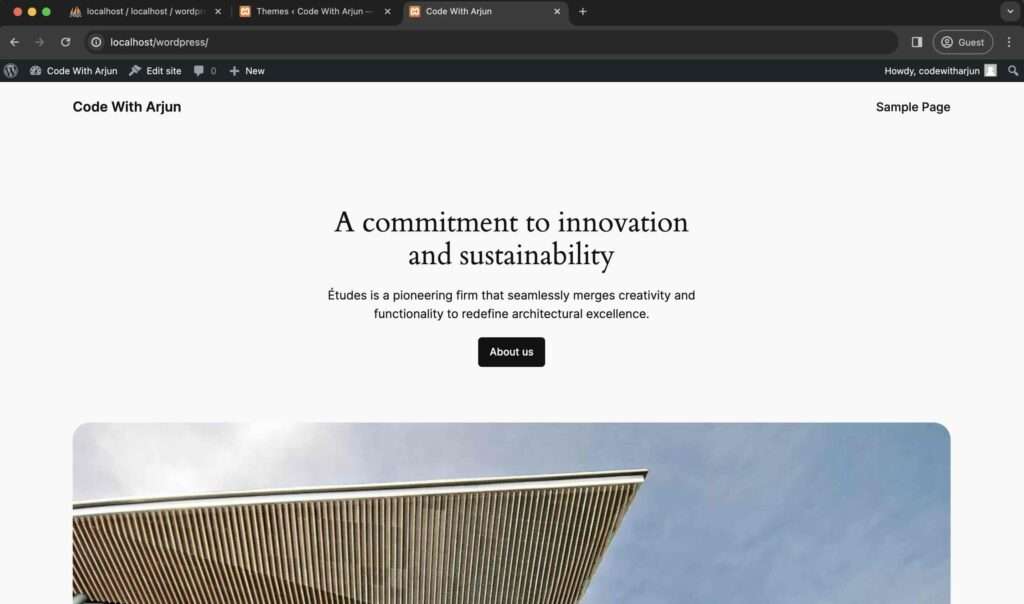
Now, if you just go to new tab of browser and type localhost/wordpress. You will see this kind of interface which is given by this theme.
Default Theme of WordPress
Step 5 : Install New Theme
Now Let’s install Beautiful looking theme called Astra. Or you can install any other popular themes. Procedure is similar.
For installing new theme just click on Add New Theme at the top.
Add New Theme
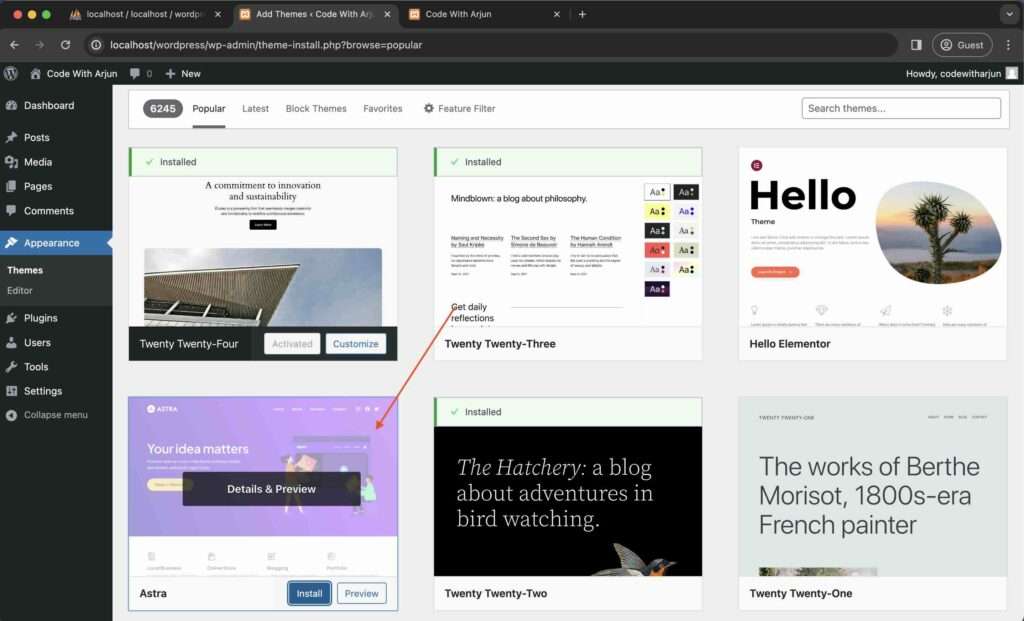
Now Let’s install Astra Theme. You either search or see on popular section. Just search Astra.
Astra Theme
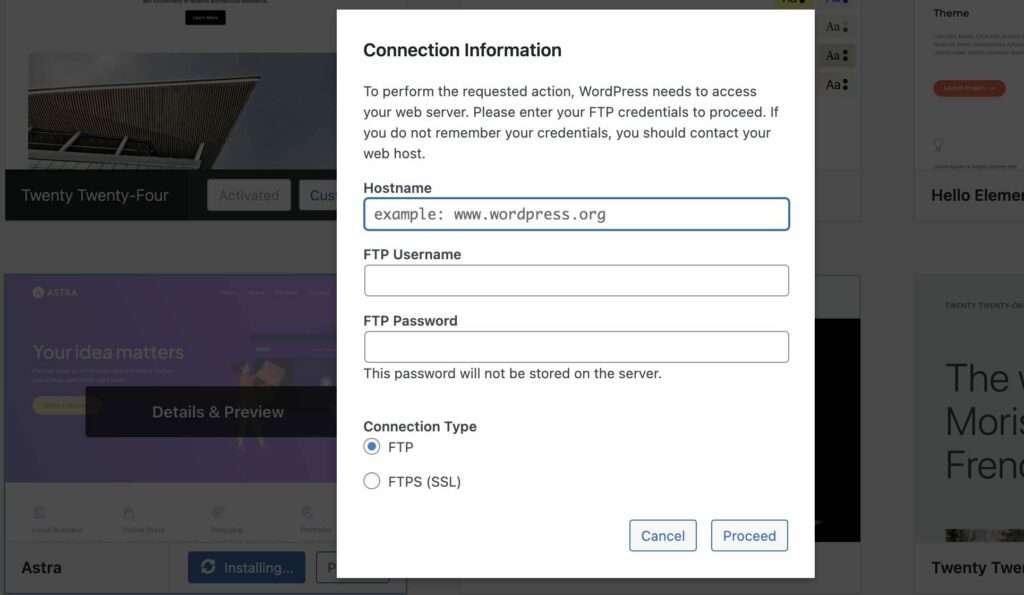
Now if you click in Install, it will show this kind of issue of Connection Information.
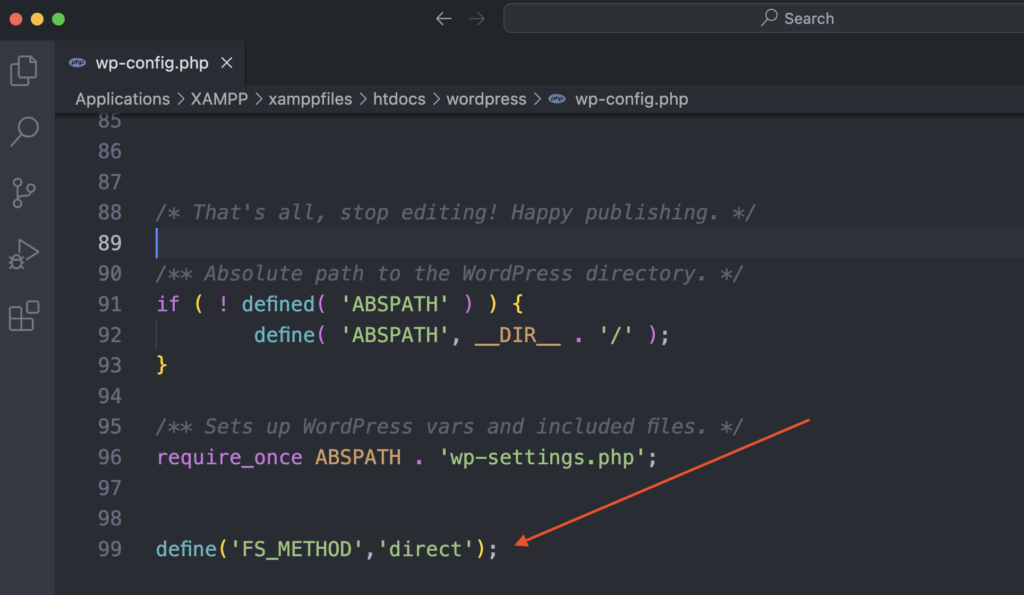
To fix this issue of again open wp-config.php file which we renamed and edited to fix the previous error.
Just go at the bottom of this file and add this line.
define('FS_METHOD','direct');
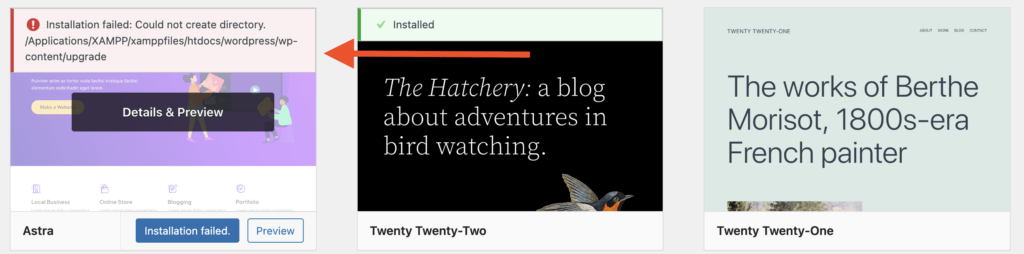
Now if you again try to install the theme. It will show new error “Installation failed: Could not create directory. /Applications/XAMPP/xamppfiles/htdocs/wordpress/wp-content/upgrade”
Installation failed: Could not create directory.
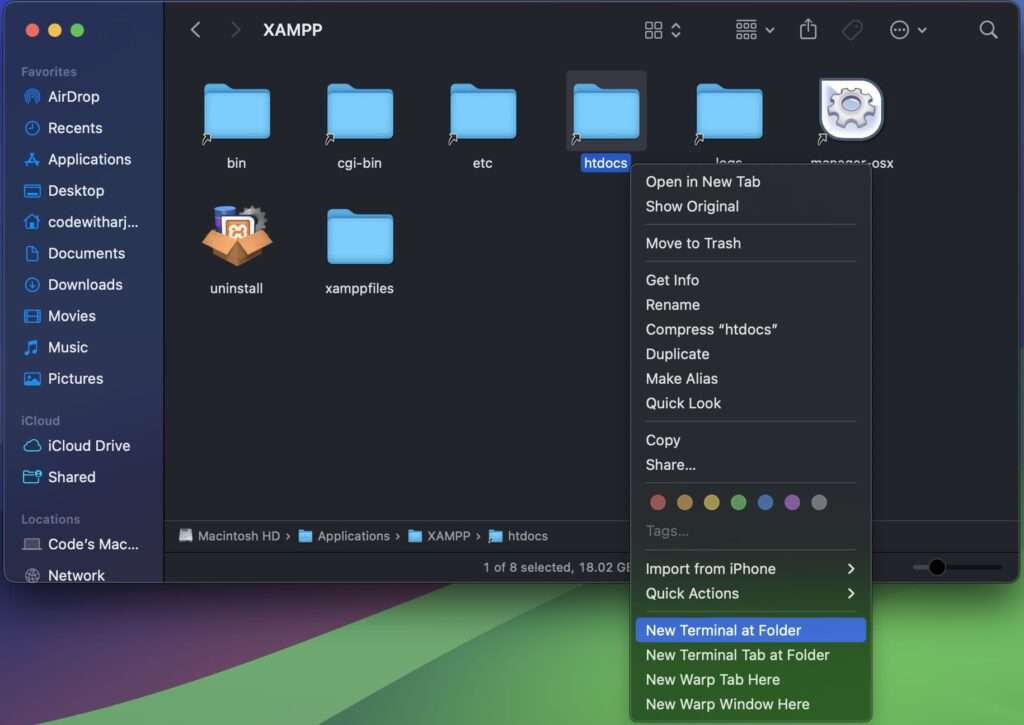
Now to fix this error. Go to Applications > XAMPP folder.
Now right click on htdocs and click on New Terminal at Folder.
Open htdocs folder in Terminal
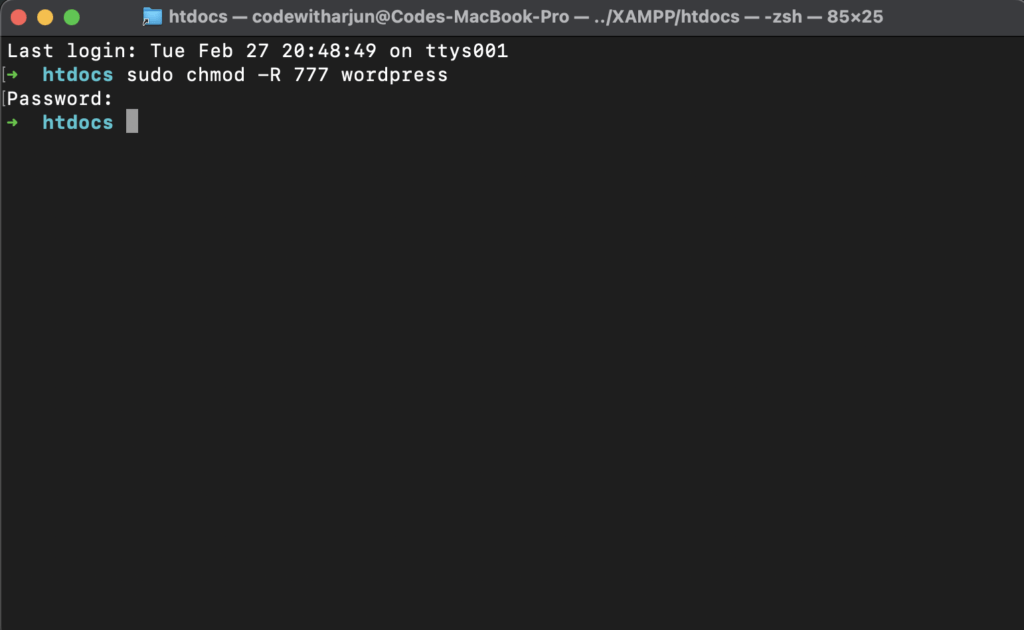
Now just type this on terminal and enter your password of Mac. This command grants full read, write, and execute permissions (777) to the “wordpress” directory and all its contents, including subdirectories, recursively.
sudo chmod -R 777 wordpress
Grating permission to wordpress folder.
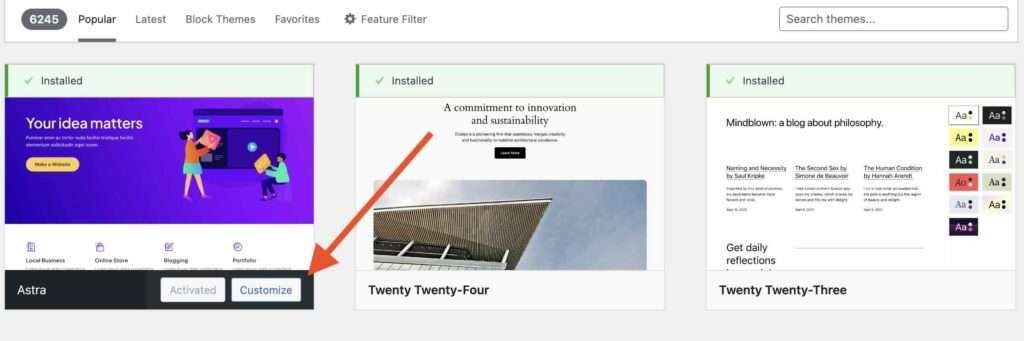
Now if you again try to install Astra theme. Finally it should be installed.
Astra Theme Installed
Now just click on Activate button. This will activate Astra theme on our website.
Then if you again go on that tab you will see customize button, just click on that.
Customize your Page
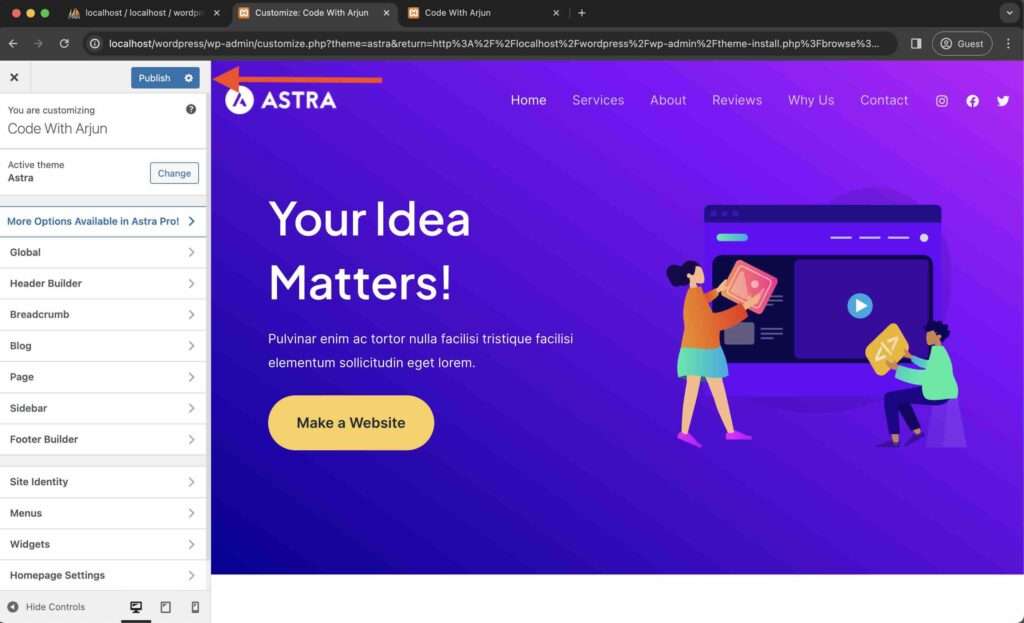
Once you click on that. It will show that button it will show this kind of page. Just click on Publish button.
Publish your website
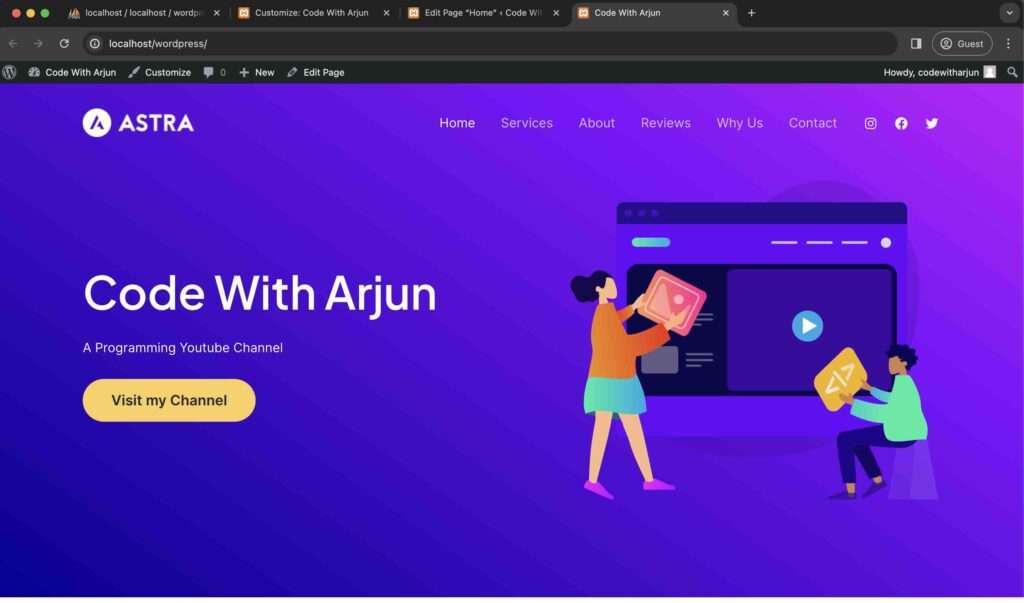
Once you click on publish your website if you go on localhost/wordpress you will see this default website given by the astra theme.
Default website given by Astra theme
Step 6 : Edit you Page
Now you can edit the page by just clicking on Edit page at the top of page.
Edit page on wordpress.
Now you can simply edit the contents on page and update the page.
Once you update. You can refresh localhost/wordpress. The changes will reflect instantly.
Demo page after change.
If you are still getting confusion Watch this video, where I have explained step by step on how you can setup wordpress on Mac.